Introduction
You can customise your Account Settings with options to manage your notifications, personalisation, follow ups, uncontacted leads, and file & page branding.
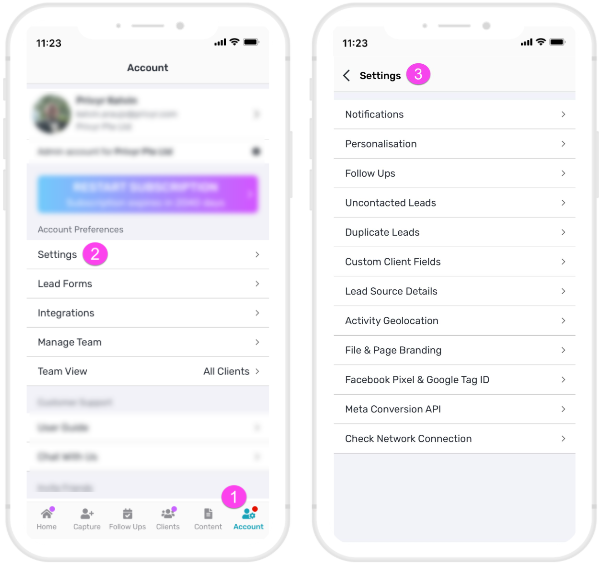
To view and manage your Account Settings, go to the Account tab on the right side of the application footer and tap on Settings.
Notifications
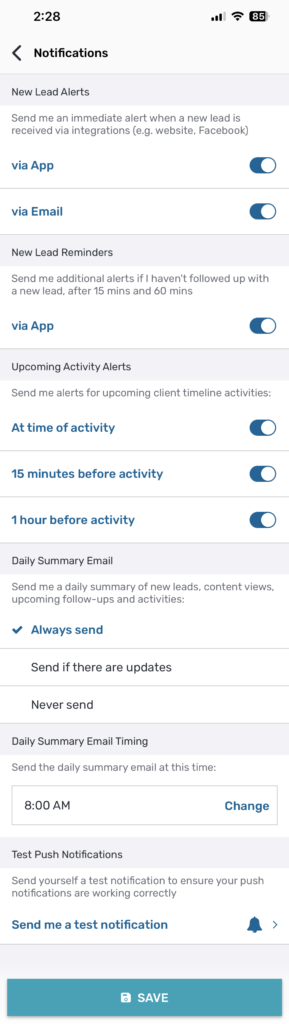
To manage your Notification settings, go to your Account tab and tap on Settings > Notifications. You’ll be able to review and customise the following options:
- New Lead Alerts will send you instant notifications as soon as you receive a new lead via integrations such as your website or Facebook Ads. You can enable or disable these alerts for the app and via email.
- New Lead Reminders will send you additional push notification alerts if you haven’t acted on a new lead within 15 minutes and 60 minutes.
- Upcoming Activity Alerts will send you a push notification for client timeline activities that have been set up with a future date or time. You can choose to be notified at time of activity, 15 minutes before activity, or 1 hour before activity.
- Daily Summary Email will send you a daily email that contains a summary of your new leads, content views, upcoming follow-ups, and activities.
- Daily Summary Email Timing allows you to select the time that the Daily Summary Email will be sent.
- Test Push Notifications will send you a test notification to ensure that your push notifications are working correctly.
Personalisation
To manage your Personalisation settings, go to your Account tab and tap on Settings > Personalisation. You’ll be able to review and customise the following options:
- Default Display Name determines the name used for the variable ‘@clientName’ in your templates when the Display Name of your client is empty.

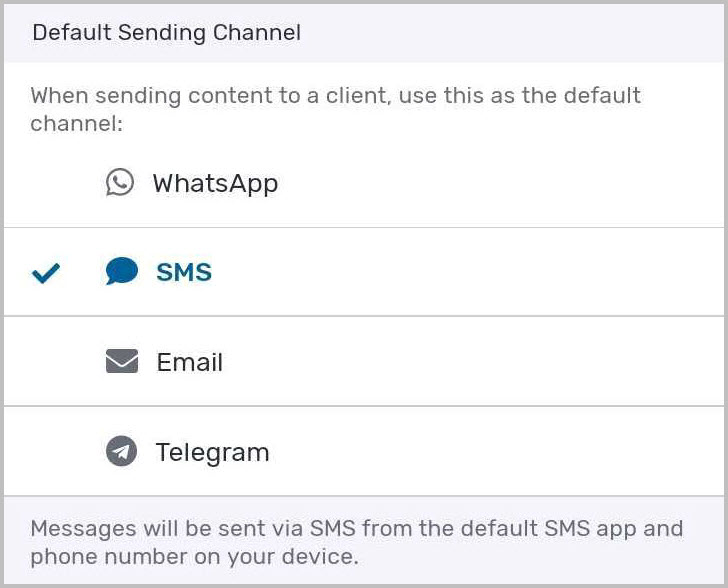
- Default Sending Channel determines the default app to use when sending content to a client via Quick Responses, the Content Tab, or Bulk Sending. You can select from WhatsApp, SMS, email, or Telegram. This channel will be used as the default button when sending content, but you can always view and choose another option while sending.
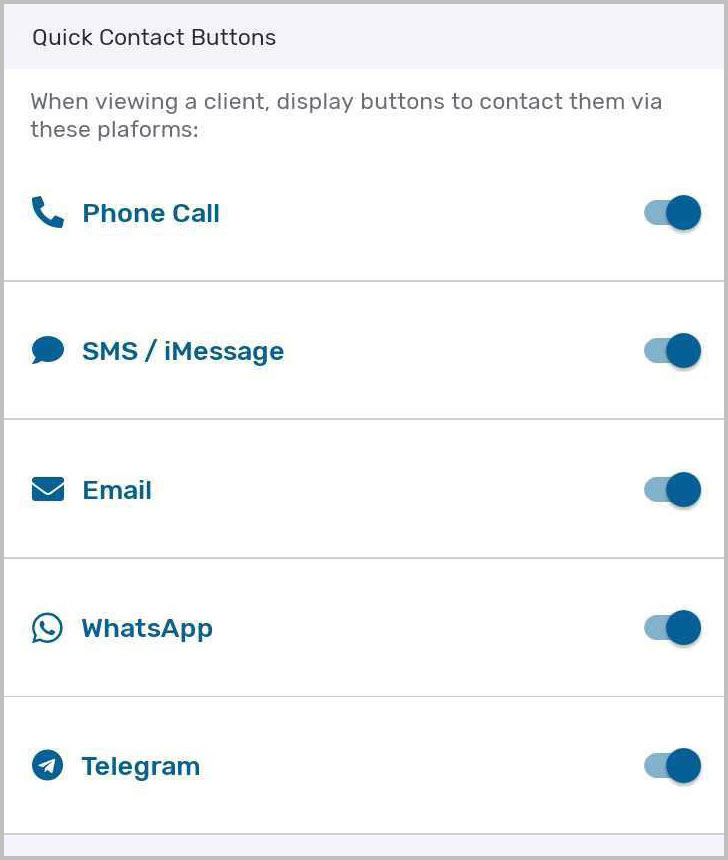
- Quick Contact Buttons determines which contact options are available to contact clients when viewing their Client Details.
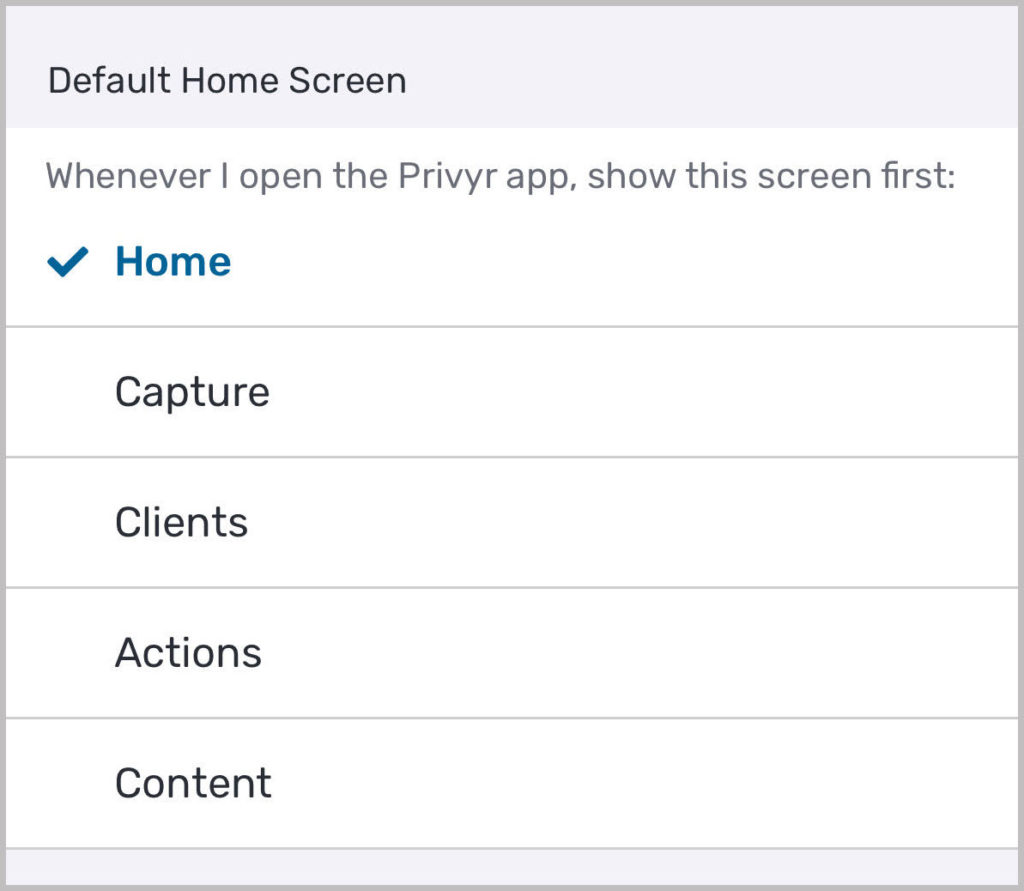
- Default Home Screen determines the default screen shown when opening the Privyr app. You can select from Home, Capture, Actions, Clients, and Content.
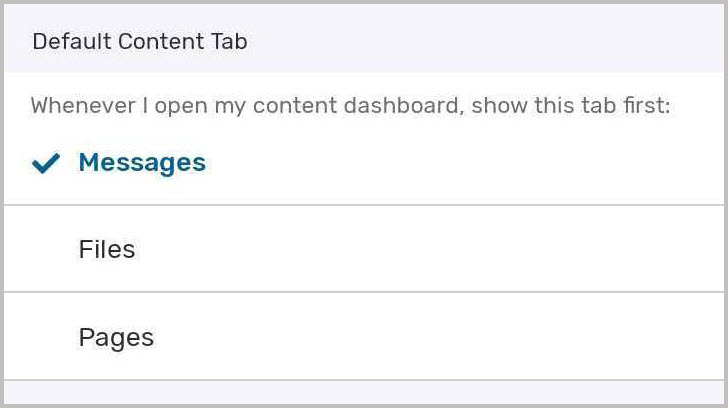
- Default Content Tab is the first tab that appears whenever you open your Content Tab. You can select from Messages, Files, or Pages.
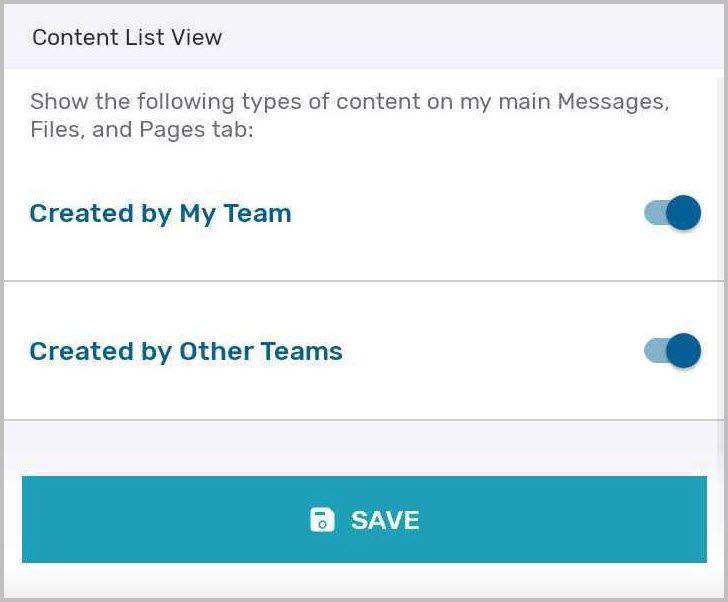
- Content List View determines the types of content to show on your Messages, Files, and Pages tabs. You can choose to show Created by My Team and Created by Other Teams, or both.
Follow Ups
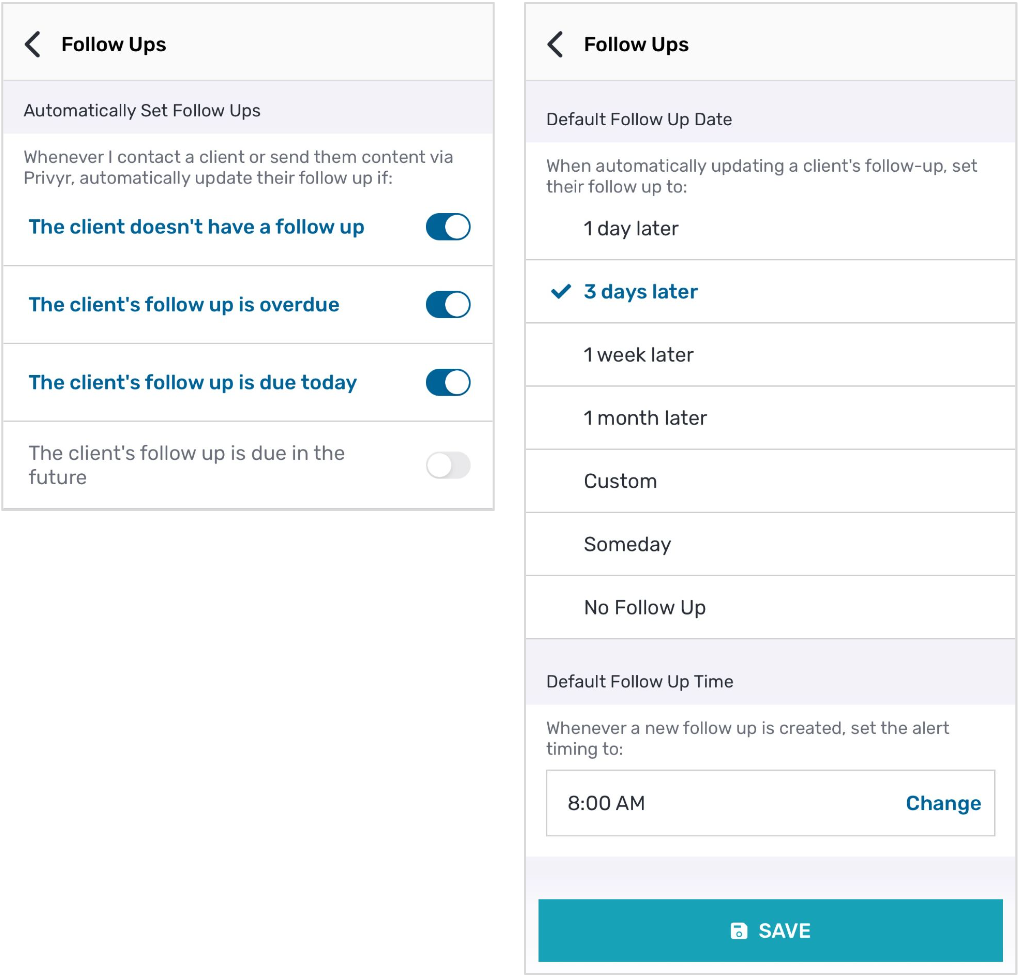
To manage your Follow Up settings, go to your Account tab and tap on Settings > Follow Ups.
Whenever you contact a client via one of the contact buttons on the Client Details Screen, or send them content (message/file/page), their follow-up date and time will be automatically updated based on your settings.
By default, if a client has no follow-up, or one that is currently due, their follow-up will be updated to 3 days later at 8:00 AM. These settings can be configured to suit your specific needs.
View more information on how Follow Ups work under the Follow Up Reminders article.
Uncontacted Leads
To manage your Uncontacted Leads settings, go to your Account tab and tap on Settings > Uncontacted Leads
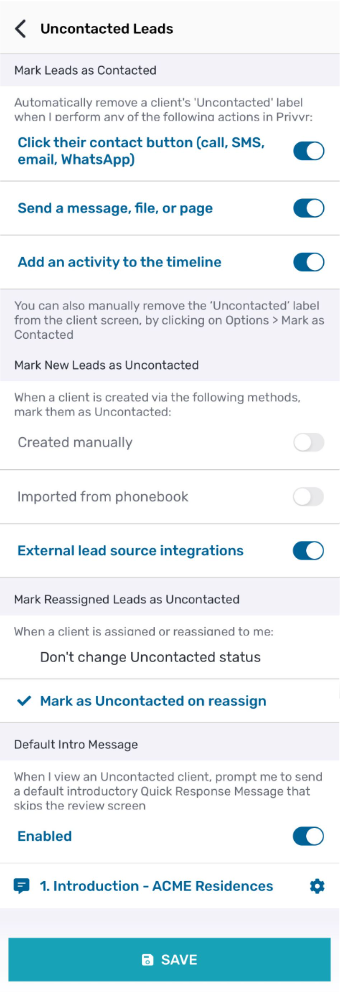
MARK LEADS AS CONTACTED
New leads received from integrations such as your website or Facebook Lead Ads will be automatically added to your account and marked as ‘Uncontacted‘. You can customise your settings to automatically remove the ‘Uncontacted’ label when you perform any of the following actions:
- Click their contact button – this will unmark the lead as soon as you click the call, SMS, email, or WhatsApp contact buttons on their Client Details screen.
- Send a message, file, or page – this will unmark the lead as soon as you send them a message, file, or page through the Quick Response, Content tab, or Bulk Send features.
- Add an activity to the timeline – this will unmark the lead as soon as you manually add a Phone Call, Message, Meeting, or Note activity to their timeline.
If all of the above options are disabled, the ‘Uncontacted’ label will never be automatically removed. Regardless of your settings, you can always manually mark or unmark an uncontacted lead via the Options menu on the Client Details screen.
DEFAULT INTRO MESSAGE
When viewing leads that are marked as ‘Uncontacted‘, you will be prompted to send your Default Intro Message. You can configure your default message by selecting any Message template from your content list.
Click here to view the full guide on Sending a Default Intro Message.
Duplicate Leads

To manage your Duplicate Lead Settings, go to your Account tab and tap on Settings > Duplicate Leads.
When a new lead is received from your external lead source integrations and their phone number and/or email address matches an existing client, you can choose to either create a new client entry for the duplicate lead or merge the duplicate lead with the Existing Client.
CREATE A NEW CLIENT
When a new duplicate lead is received, it will create a new client entry, which is added to your Client List. You will also see a Duplicate clients found warning message when opening their Client Details.
MERGE WITH THE EXISTING CLIENT
When a new duplicate lead is received, it will merge the lead with the existing client that’s already in your Client List. You will still receive an app and/or email notification for it, but instead of creating a new entry, the duplicate lead details will be added to the existing client’s timeline instead.
Note that this only affects new duplicate leads received going forward, and will not merge existing duplicate contacts already in your client list.
If you’re using Privyr with a Team, the new duplicate lead will be assigned to the same team member handling the existing contact.
Lead Source Details

You can show the Facebook Page or Facebook Campaign of a lead directly on your client lists. By default, the Facebook Page will be shown; however, you can choose to show the Facebook Campaign instead, or neither.
Activity Geolocation
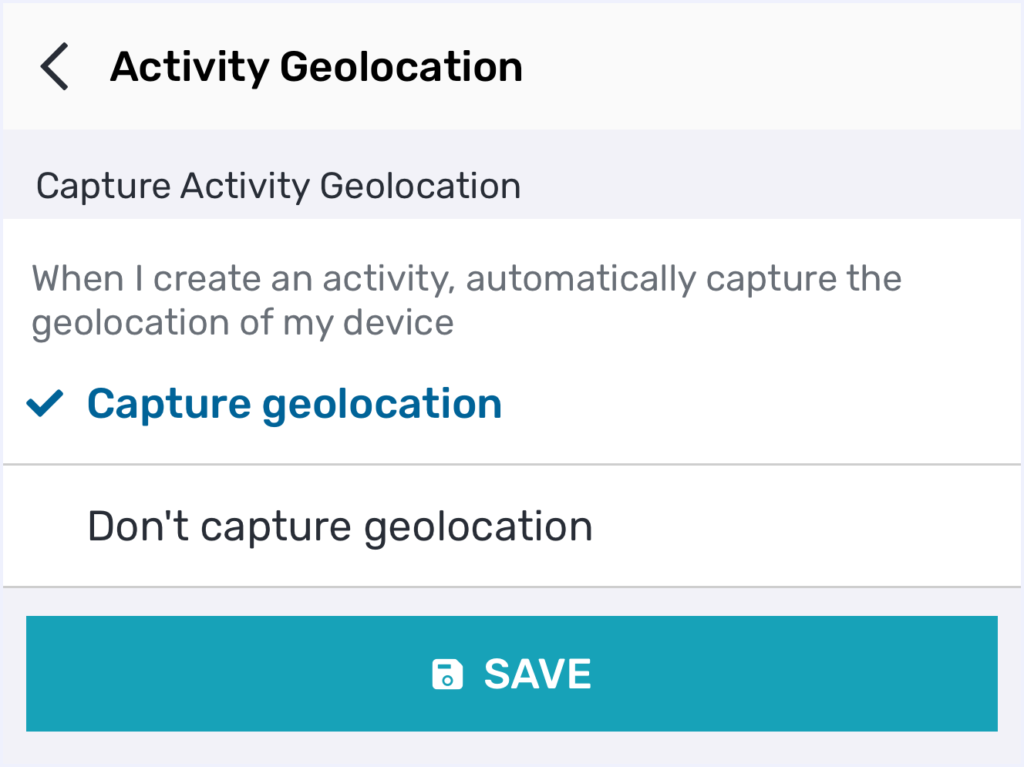
Allow the app to automatically capture the Geolocation of your device when creating an activity.
Note that you need to grant Location access to the Privyr app in your device’s Settings.
File & Page Branding
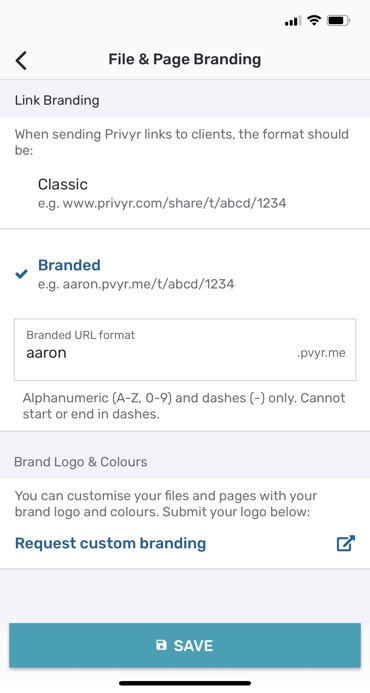
To manage your File & Page Branding settings, go to your Account tab and tap on Settings > File & Page Branding. You’ll be able to review and customise the following options, which will affect all of your files and pages.
- Link Branding controls how your file and page links appear, and can be customised to feature your personal branding:
- Classic makes all your links unbranded, with a format of www.privyr.com/share/…
- Branded will include your personalisation at the front of your links. You can change your branded URL to your name or brand, which will be automatically applied every time you send a file or page. Don’t worry, previously sent links of a different format will still work even after you change this setting.
- Brand Logo & Colours allows you to request a custom branding that will appear on your files and pages. View more about how this branding is used in File Branding.
Note that File & Page Branding customisations are only available with Privyr Pro.